Mount Lindsey Ridge Route Guide: Class 3 Scramble, Trailhead Access & Gear
Hike Mount Lindsey via the thrilling Ridge Route, a true Class 3 scramble in Colorado’s Sangre de Cristo Range. Learn how to reach the Lily Lake Trailhead, navigate private property access, tackle the crux safely, and see the essential gear I used on my first Class 3 14er.
HIKING COLORADO 14ERS14ERSHIKING
Devin
9/14/20254 min read
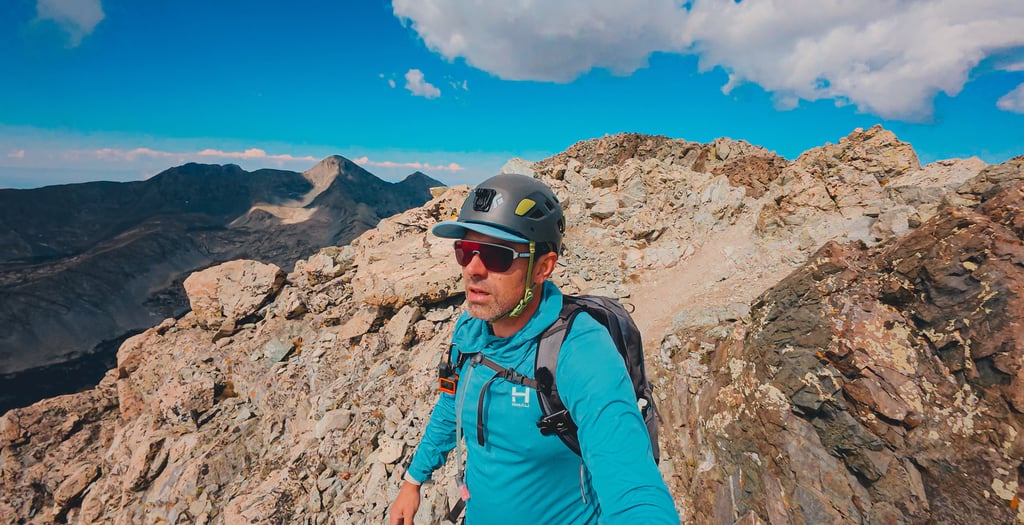
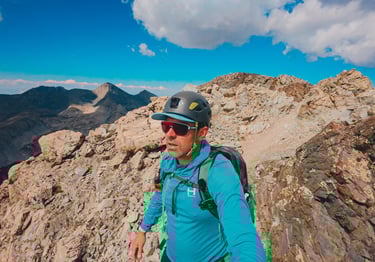
Hiking Mount Lindsey: Tackling the Ridge Route (My First Class 3)
Mount Lindsey, standing at 14,055 feet in the Sangre de Cristo Range, offers one of Colorado’s most rewarding 14er climbs—but don’t be fooled, the Ridge Route is a true Class 3 with real scrambling, exposure, and a crux that can sneak into Class 4 territory if you get off-route. This was my very first Class 3 climb, and it was a day full of incredible views, careful route-finding, and lessons in staying calm when things got tricky.
Getting to the Lily Lake Trailhead
Reaching the trailhead requires high clearance and, after the landslide reroute section, 4WD is strongly recommended. From the town of Gardner:
Drive west on Colorado 69 for about half a mile, then turn onto County Road 550.
At 7.0 miles, the pavement ends.
At 11.8 miles, stay left on Forest Road 580.
At 15.7 miles, stay left at the Singing River Ranch.
At 16.7 miles, pass Aspen River Ranch.
At ~20 miles, you’ll cross the landslide reroute section. Beyond this, the road steepens and narrows—this is where 4WD is needed.
Continue about 2 more miles to the Lily Lake Trailhead, where dispersed camping is available.
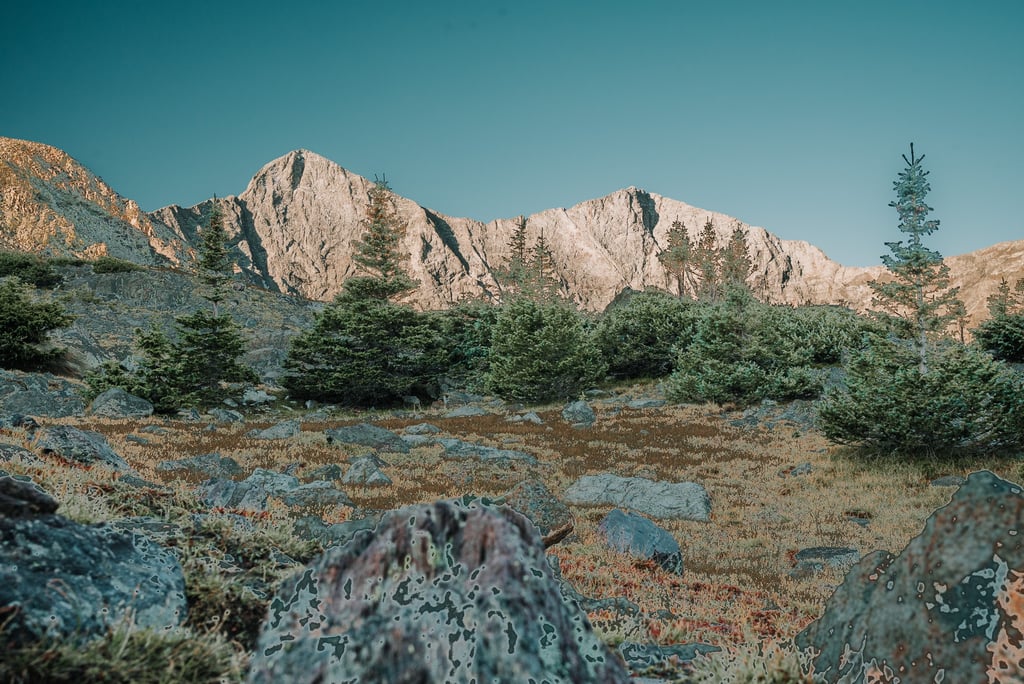
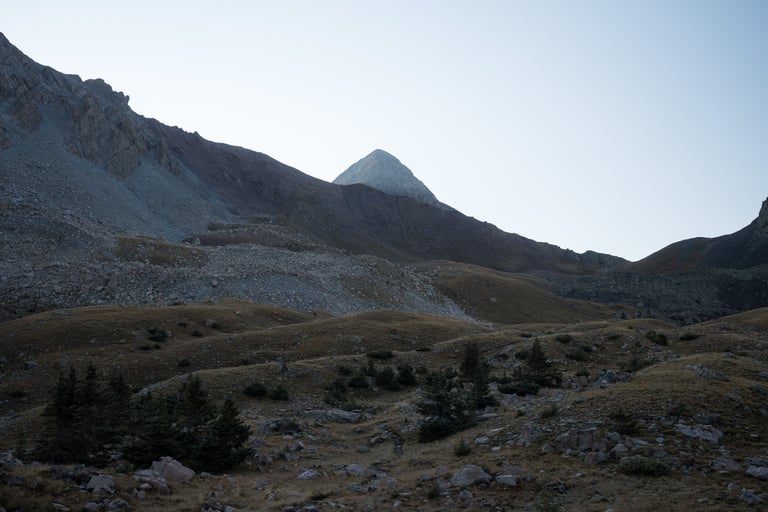
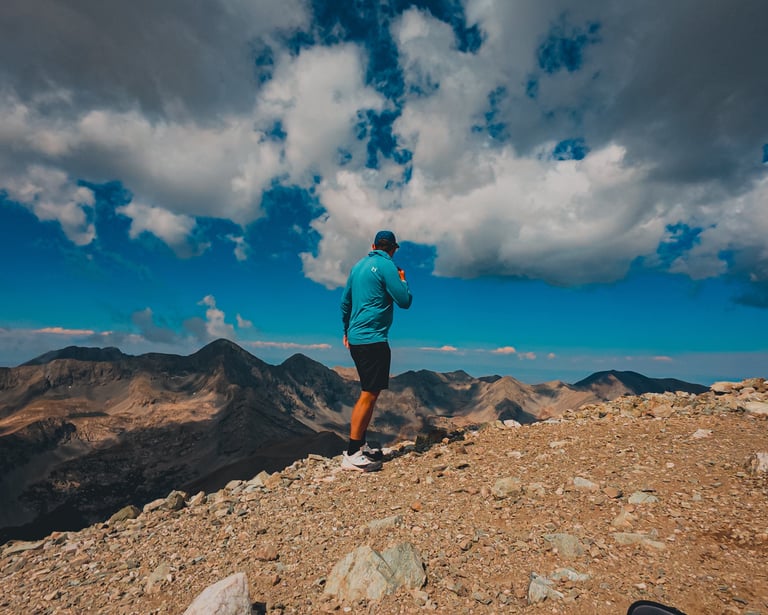
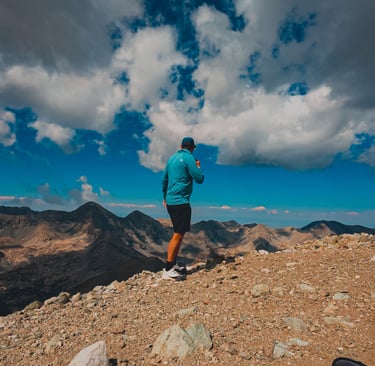
The good news? From the trailhead itself, you’re greeted with incredible views of the Sangre de Cristo mountains. It feels like the adventure begins the second you park.
One more note: because this hike crosses private property, a waiver is required. Make sure you’ve completed this before heading out.
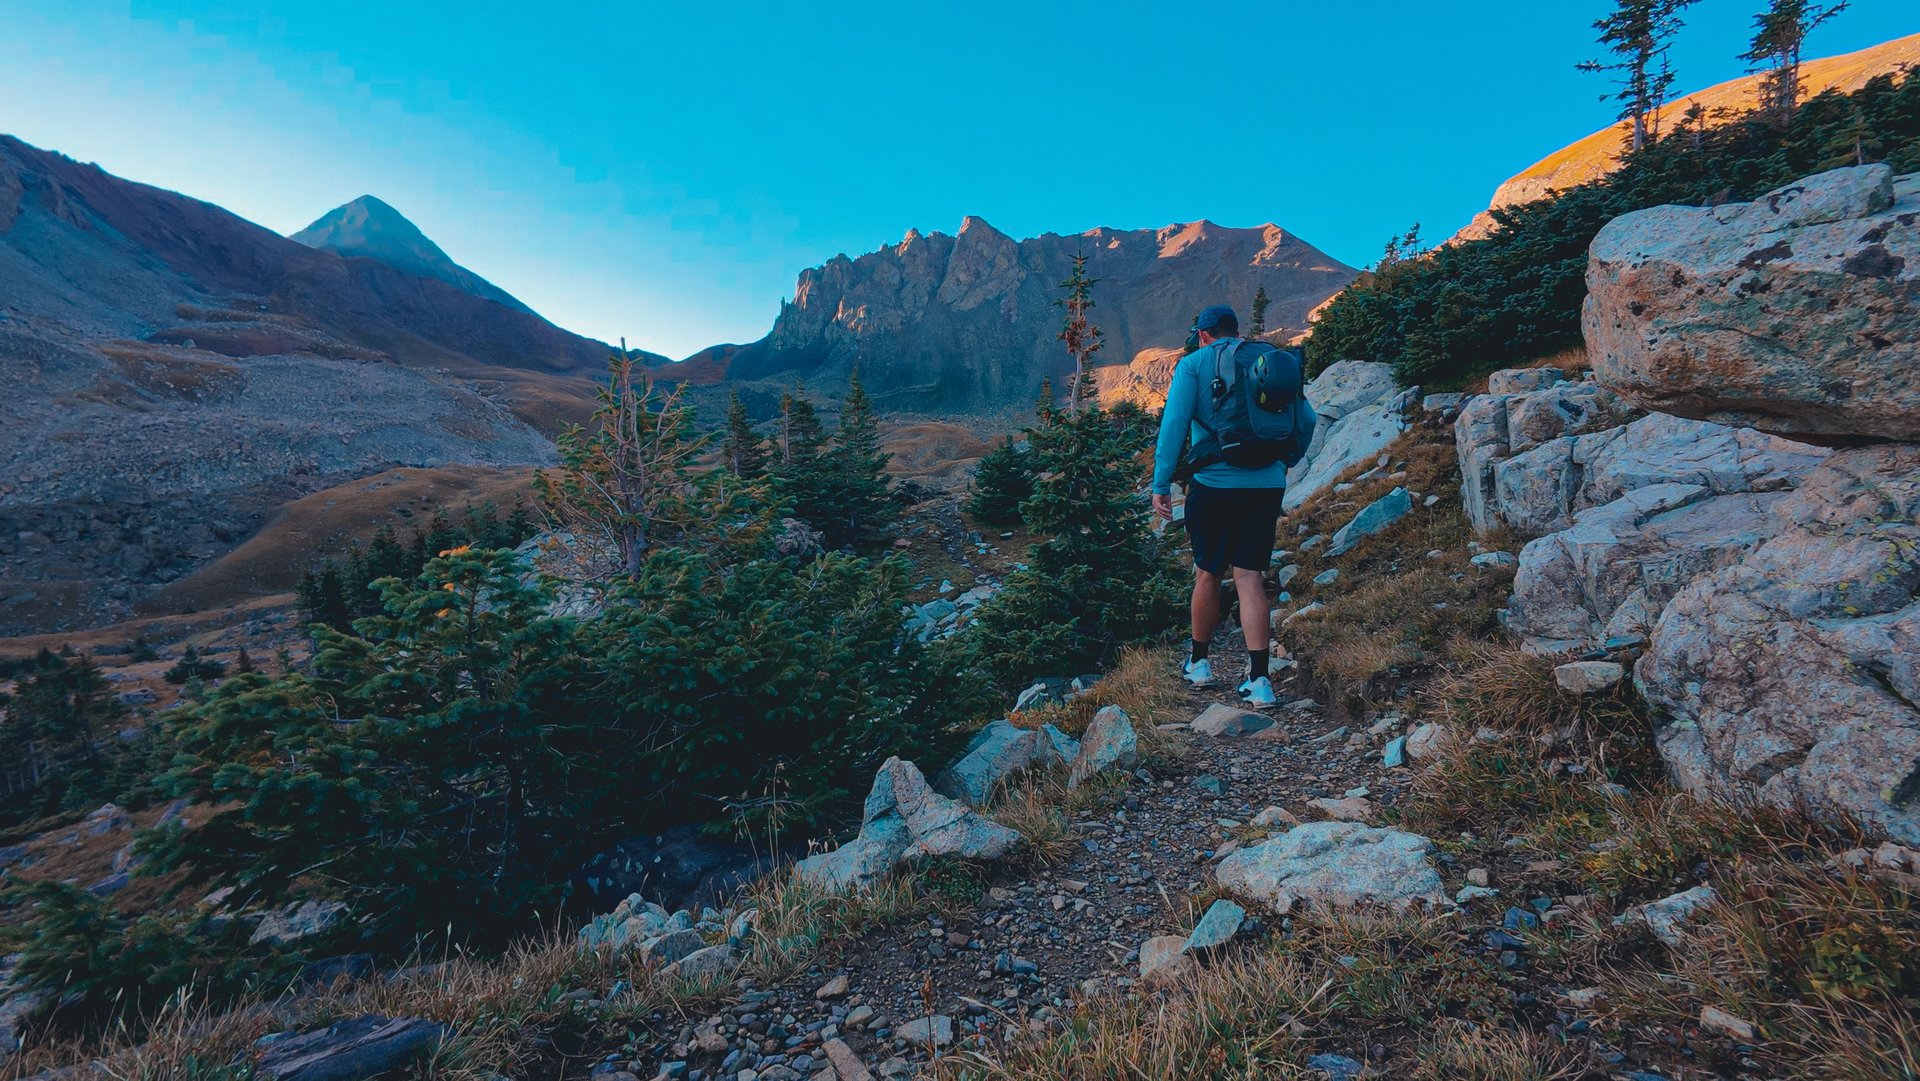
The Trail to Treeline
From the Lily Lake TH, the hike starts gently but requires attention early. After crossing over a creek, the trail can become hard to follow in places. This is where it’s essential to have your maps downloaded ahead of time (I rely on Gaia GPS for this).
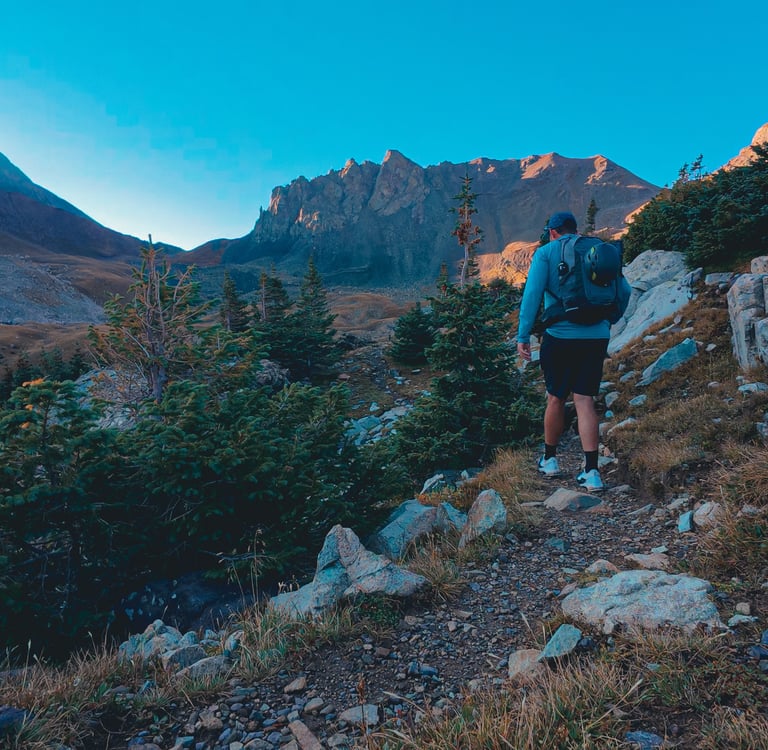
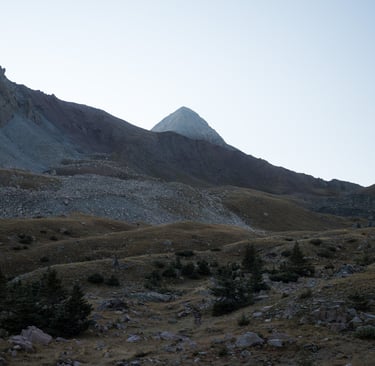
Once you climb above treeline, the terrain opens up into a spectacular alpine basin. From here, the trail is much more straightforward and the views only get better.


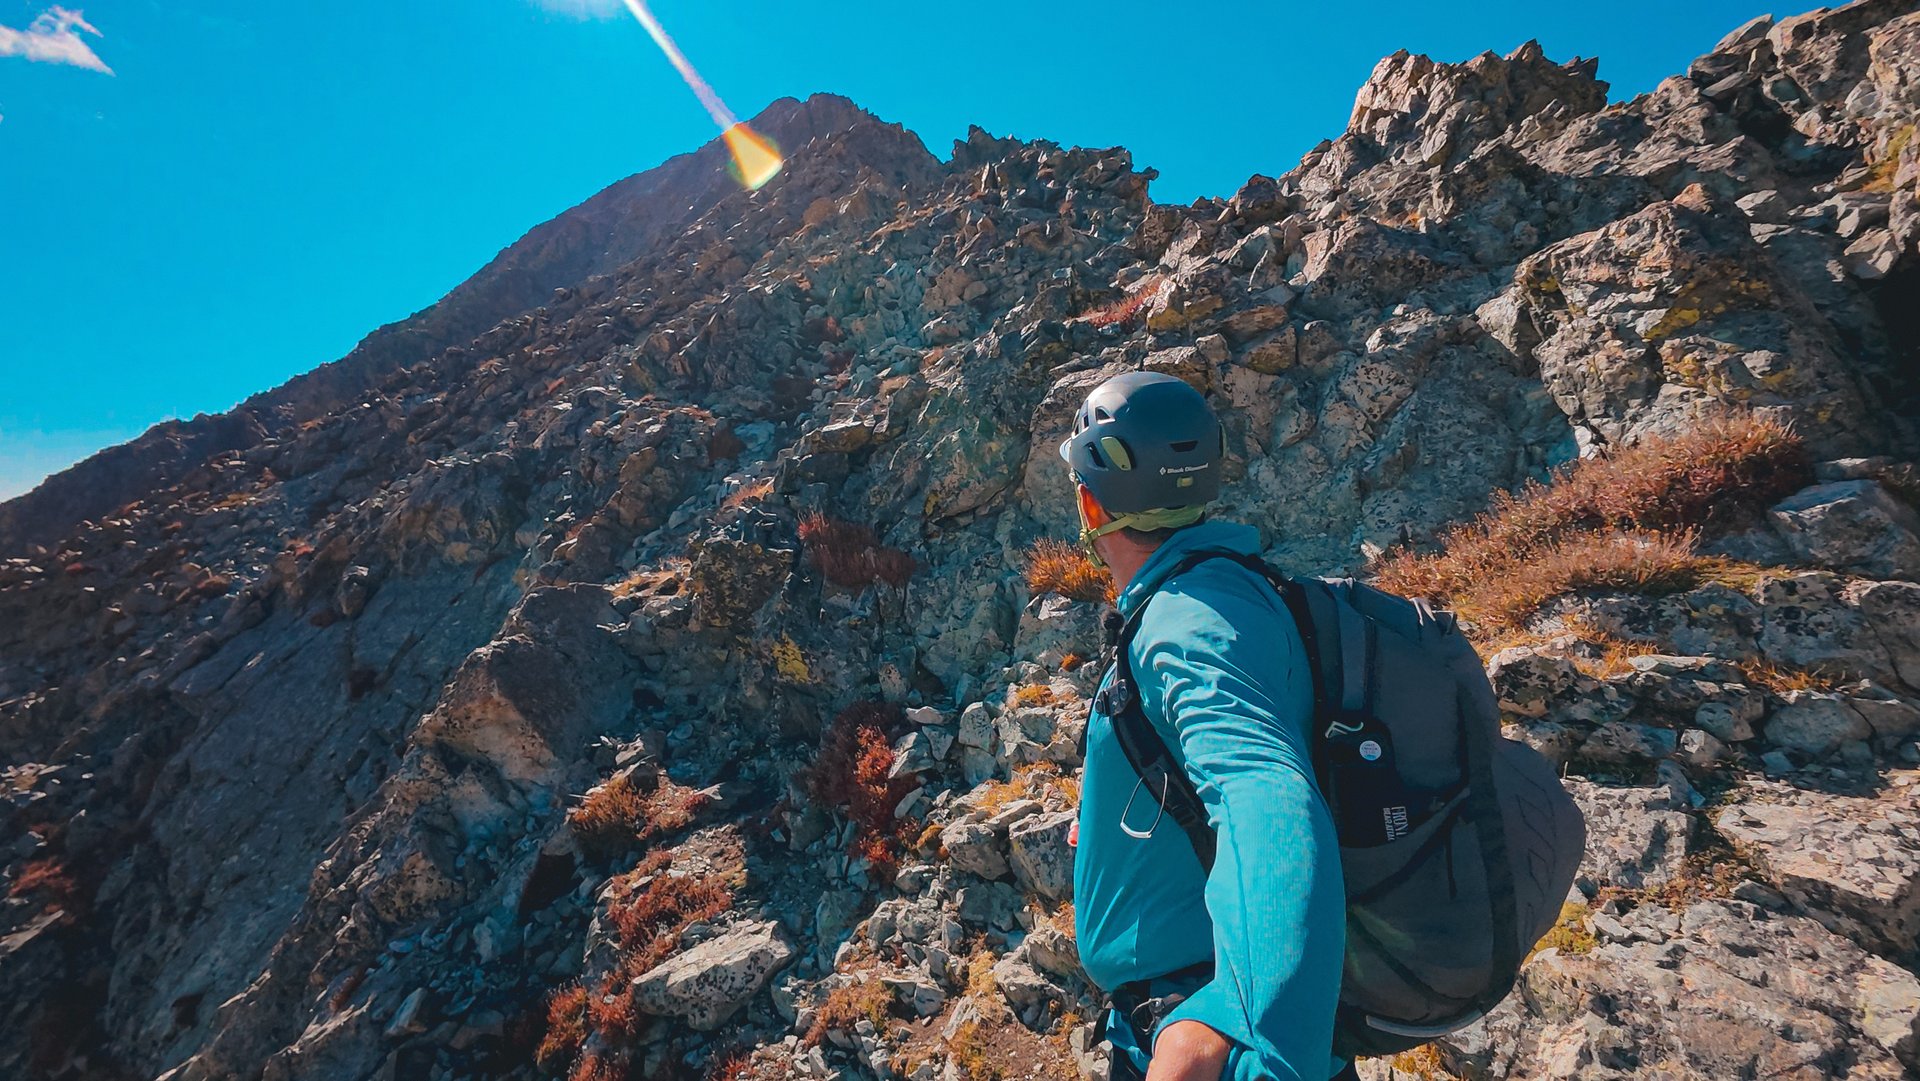
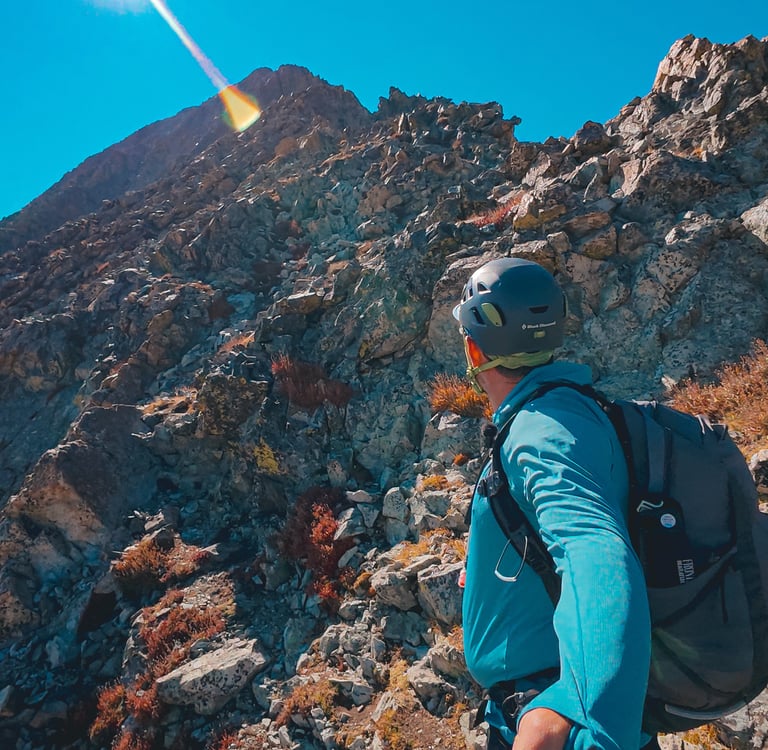
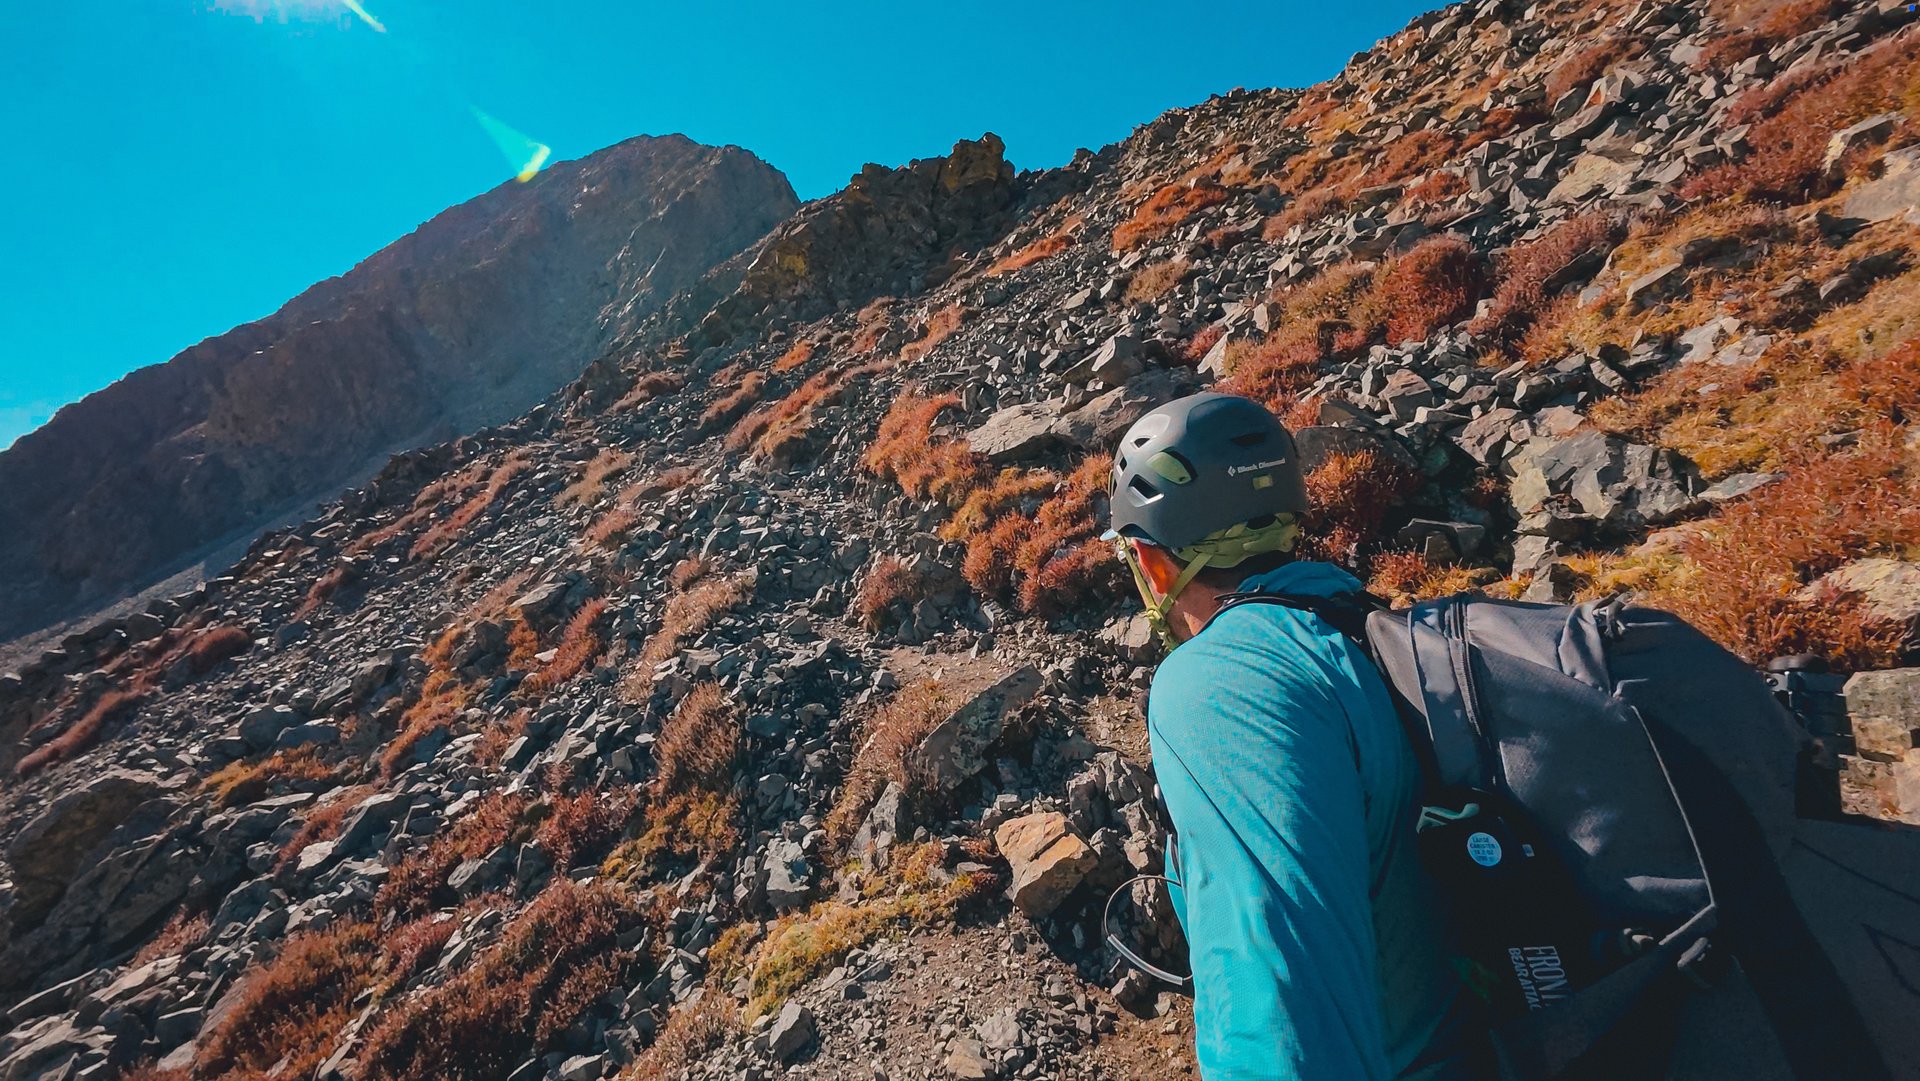
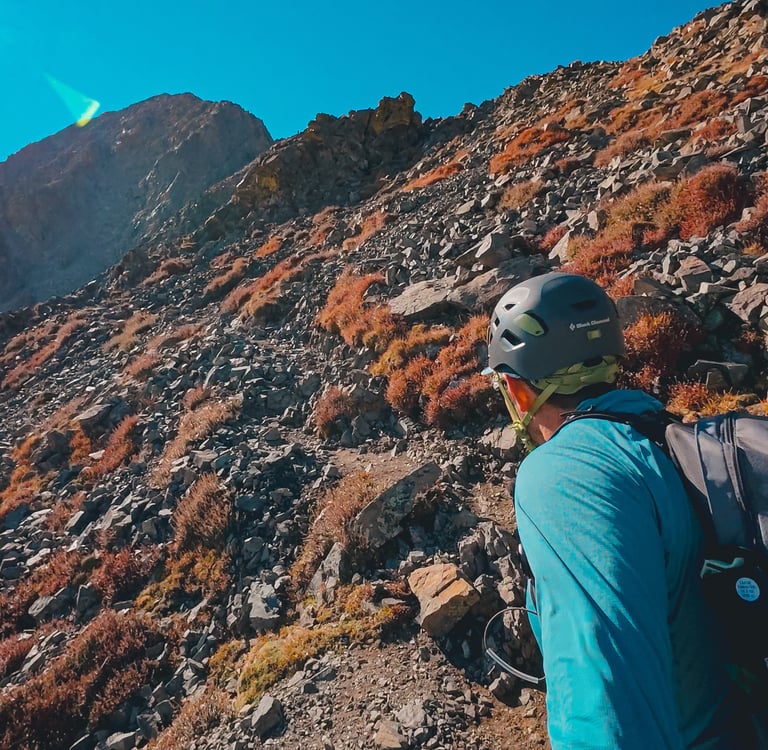
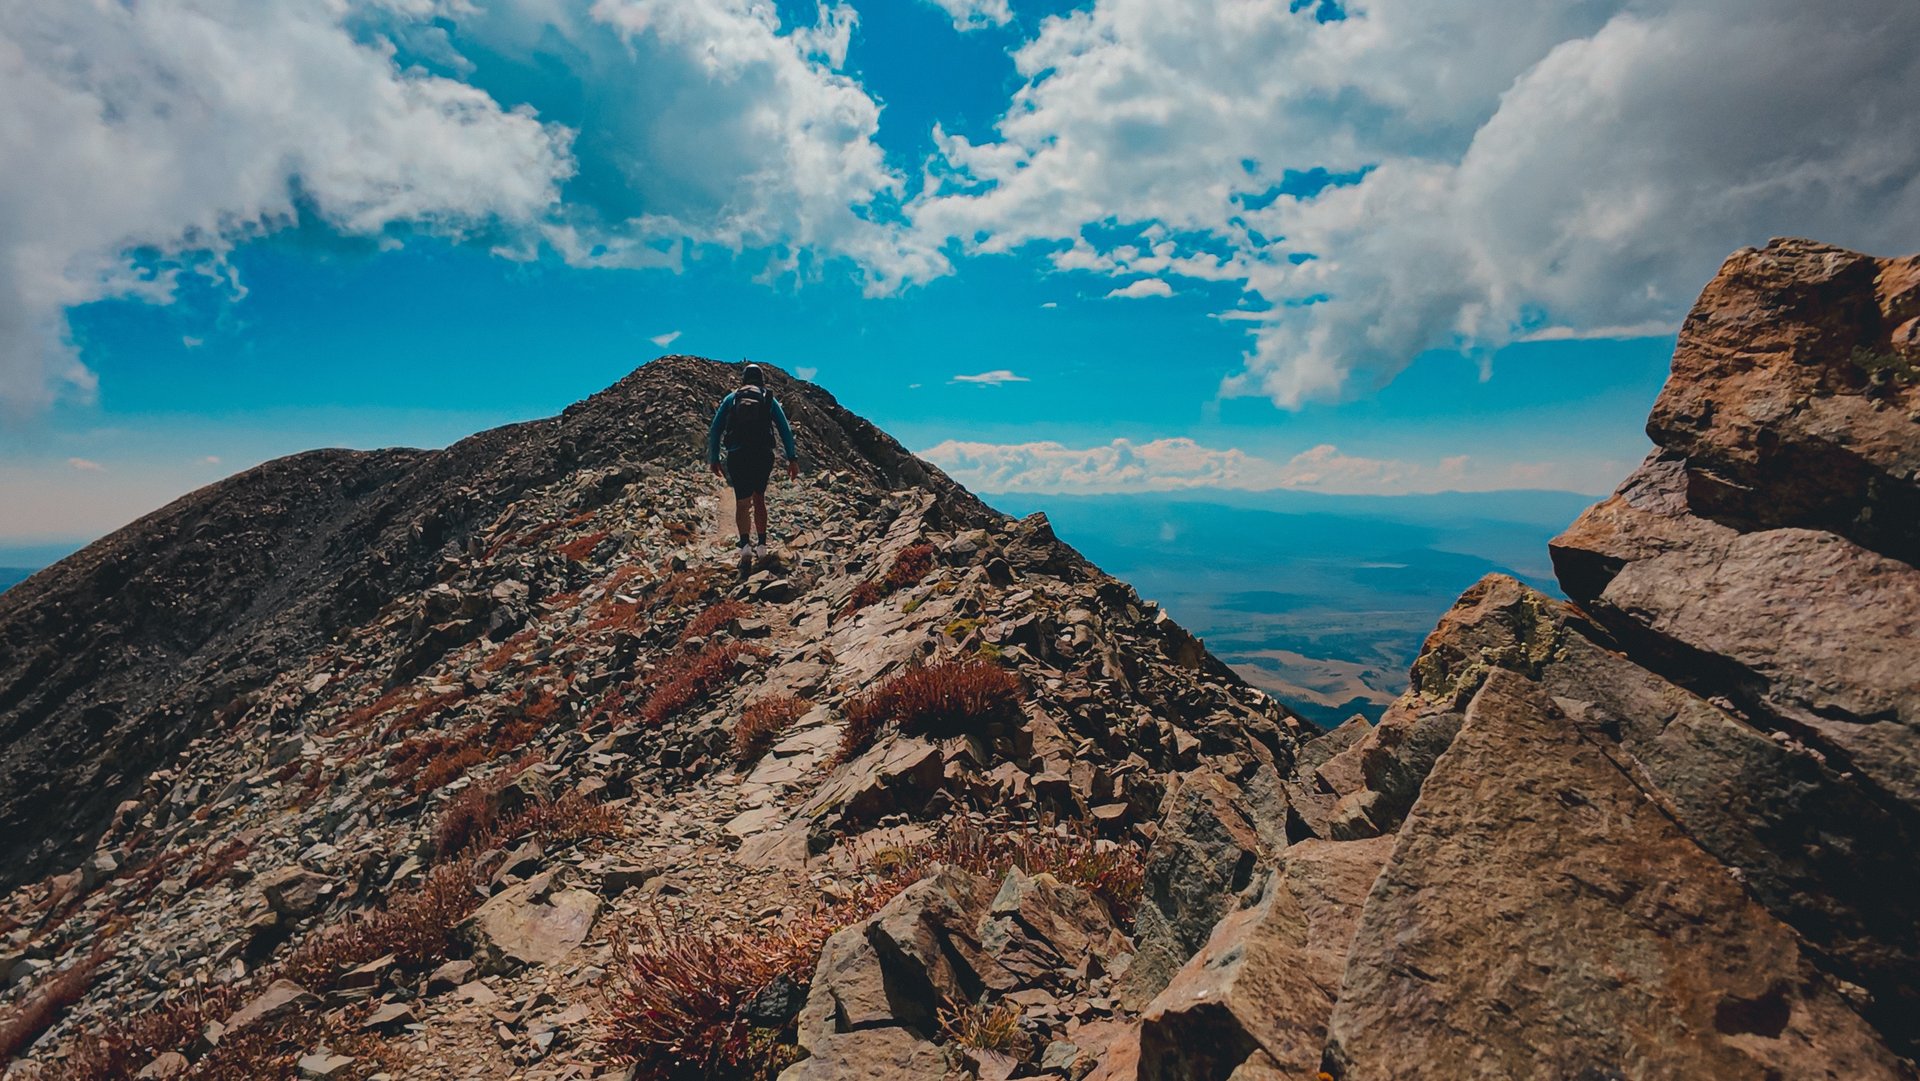
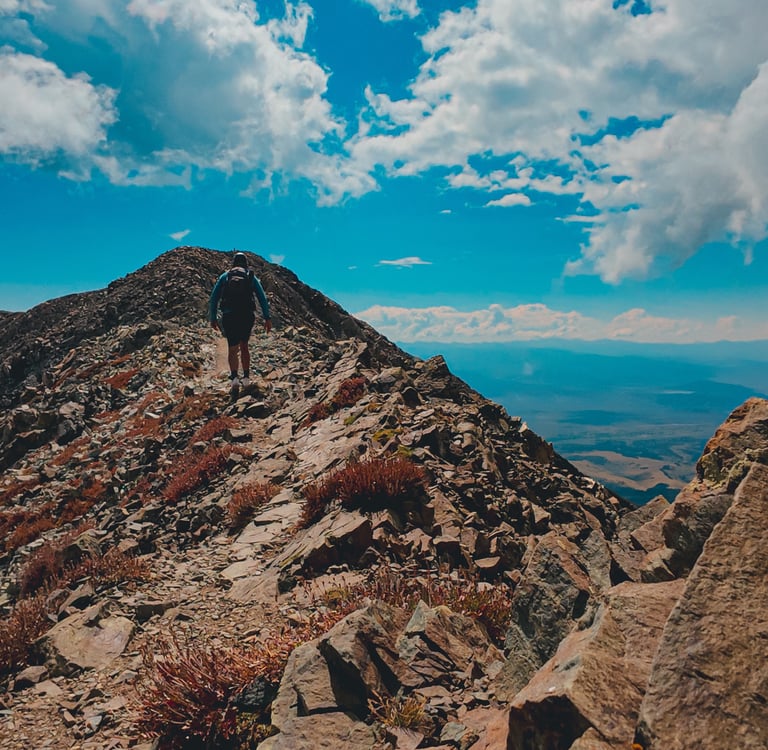
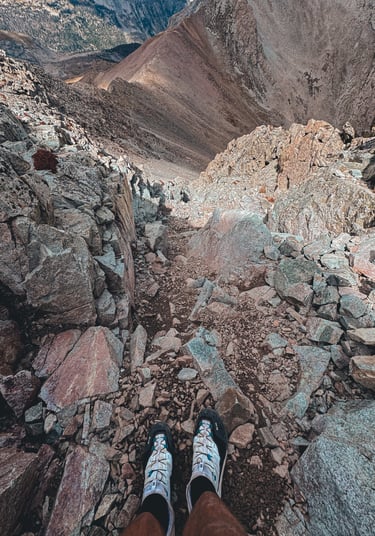
The Ridge Route
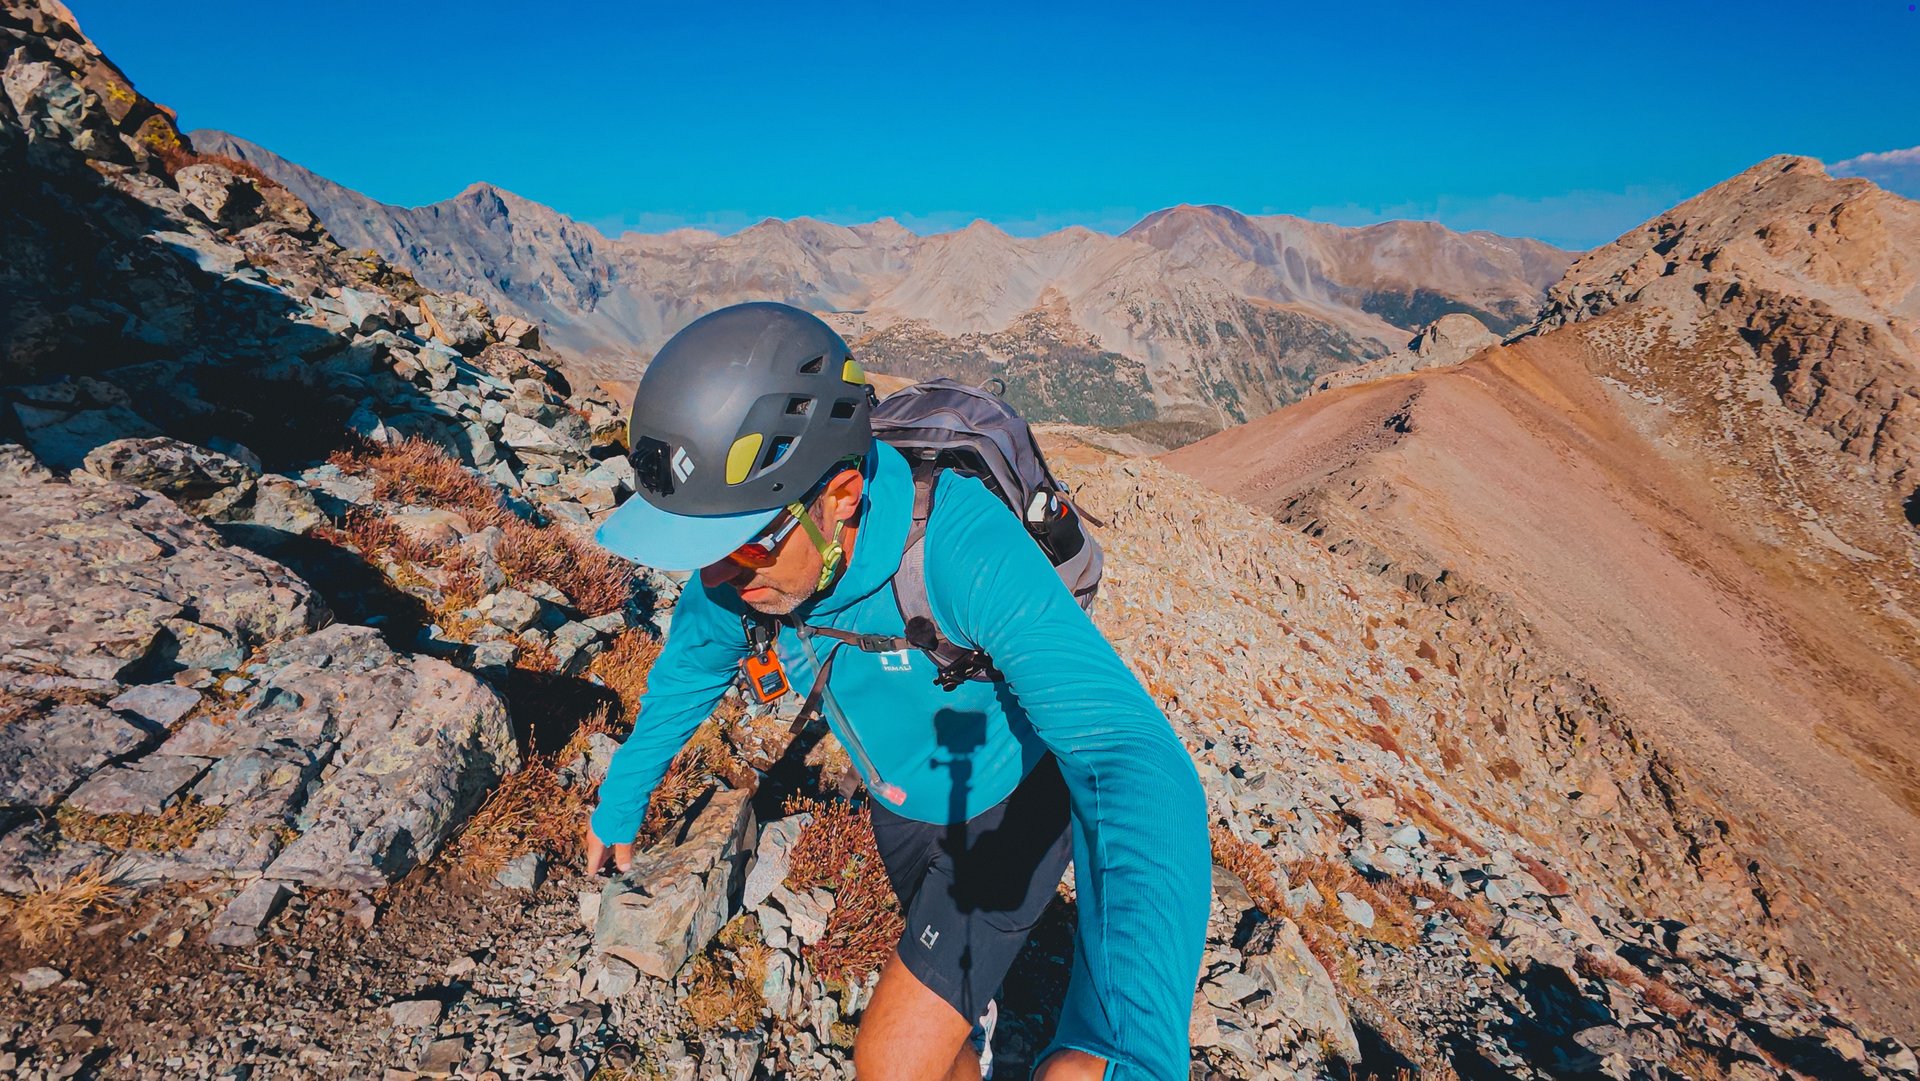
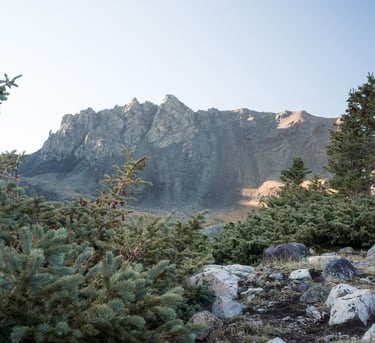
After reaching the 13,150-foot saddle between Iron Nipple and Mount Lindsey, the Ridge Route begins in earnest.
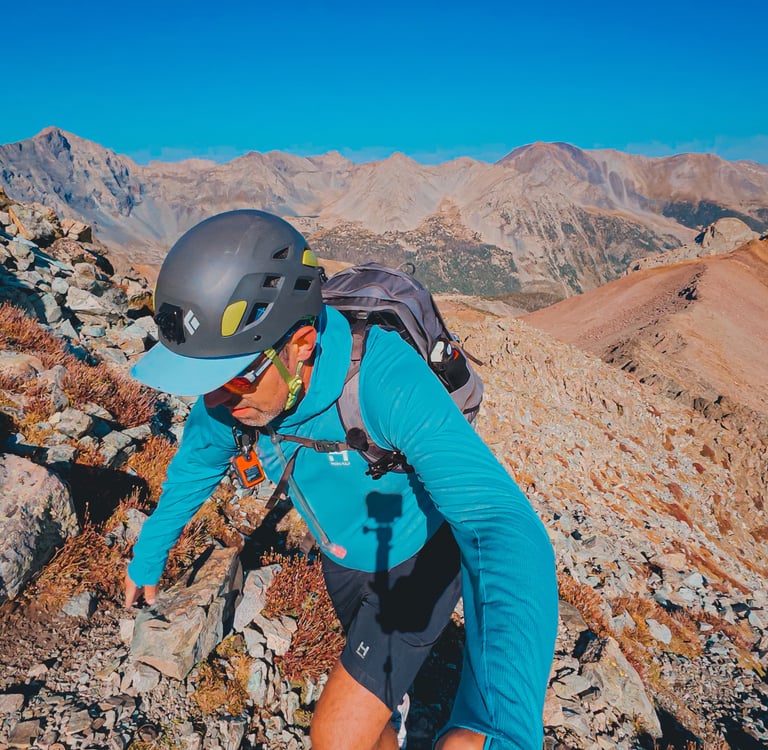
The ridge is striking—steep, rugged, and intimidating at first glance. Staying near the crest keeps it at Class 3, but the scrambling becomes more sustained as you climb higher.
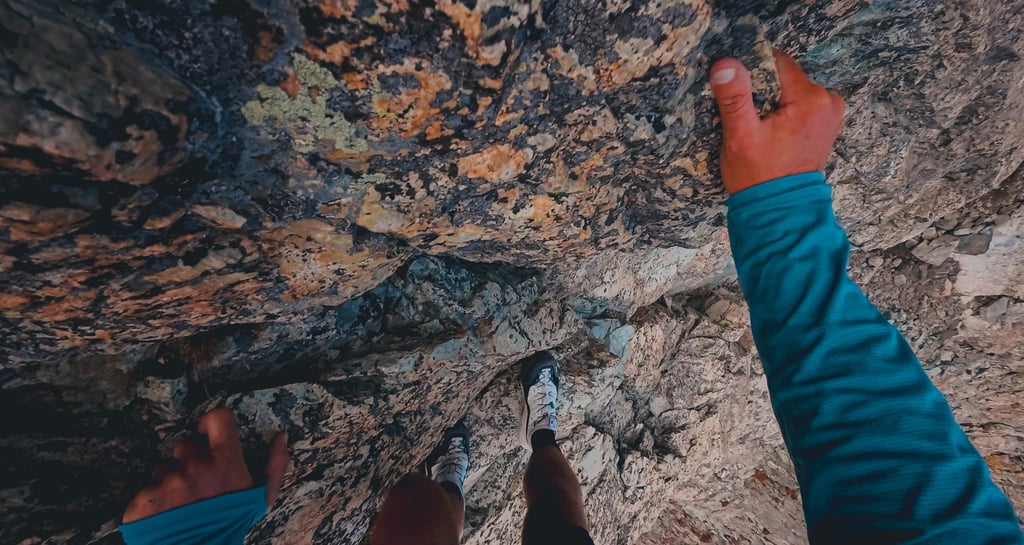
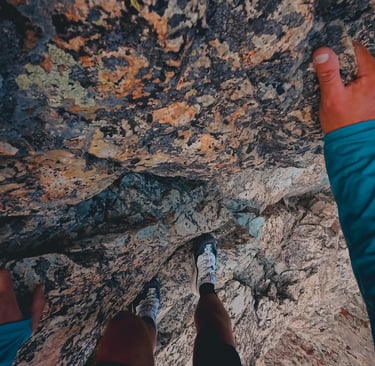
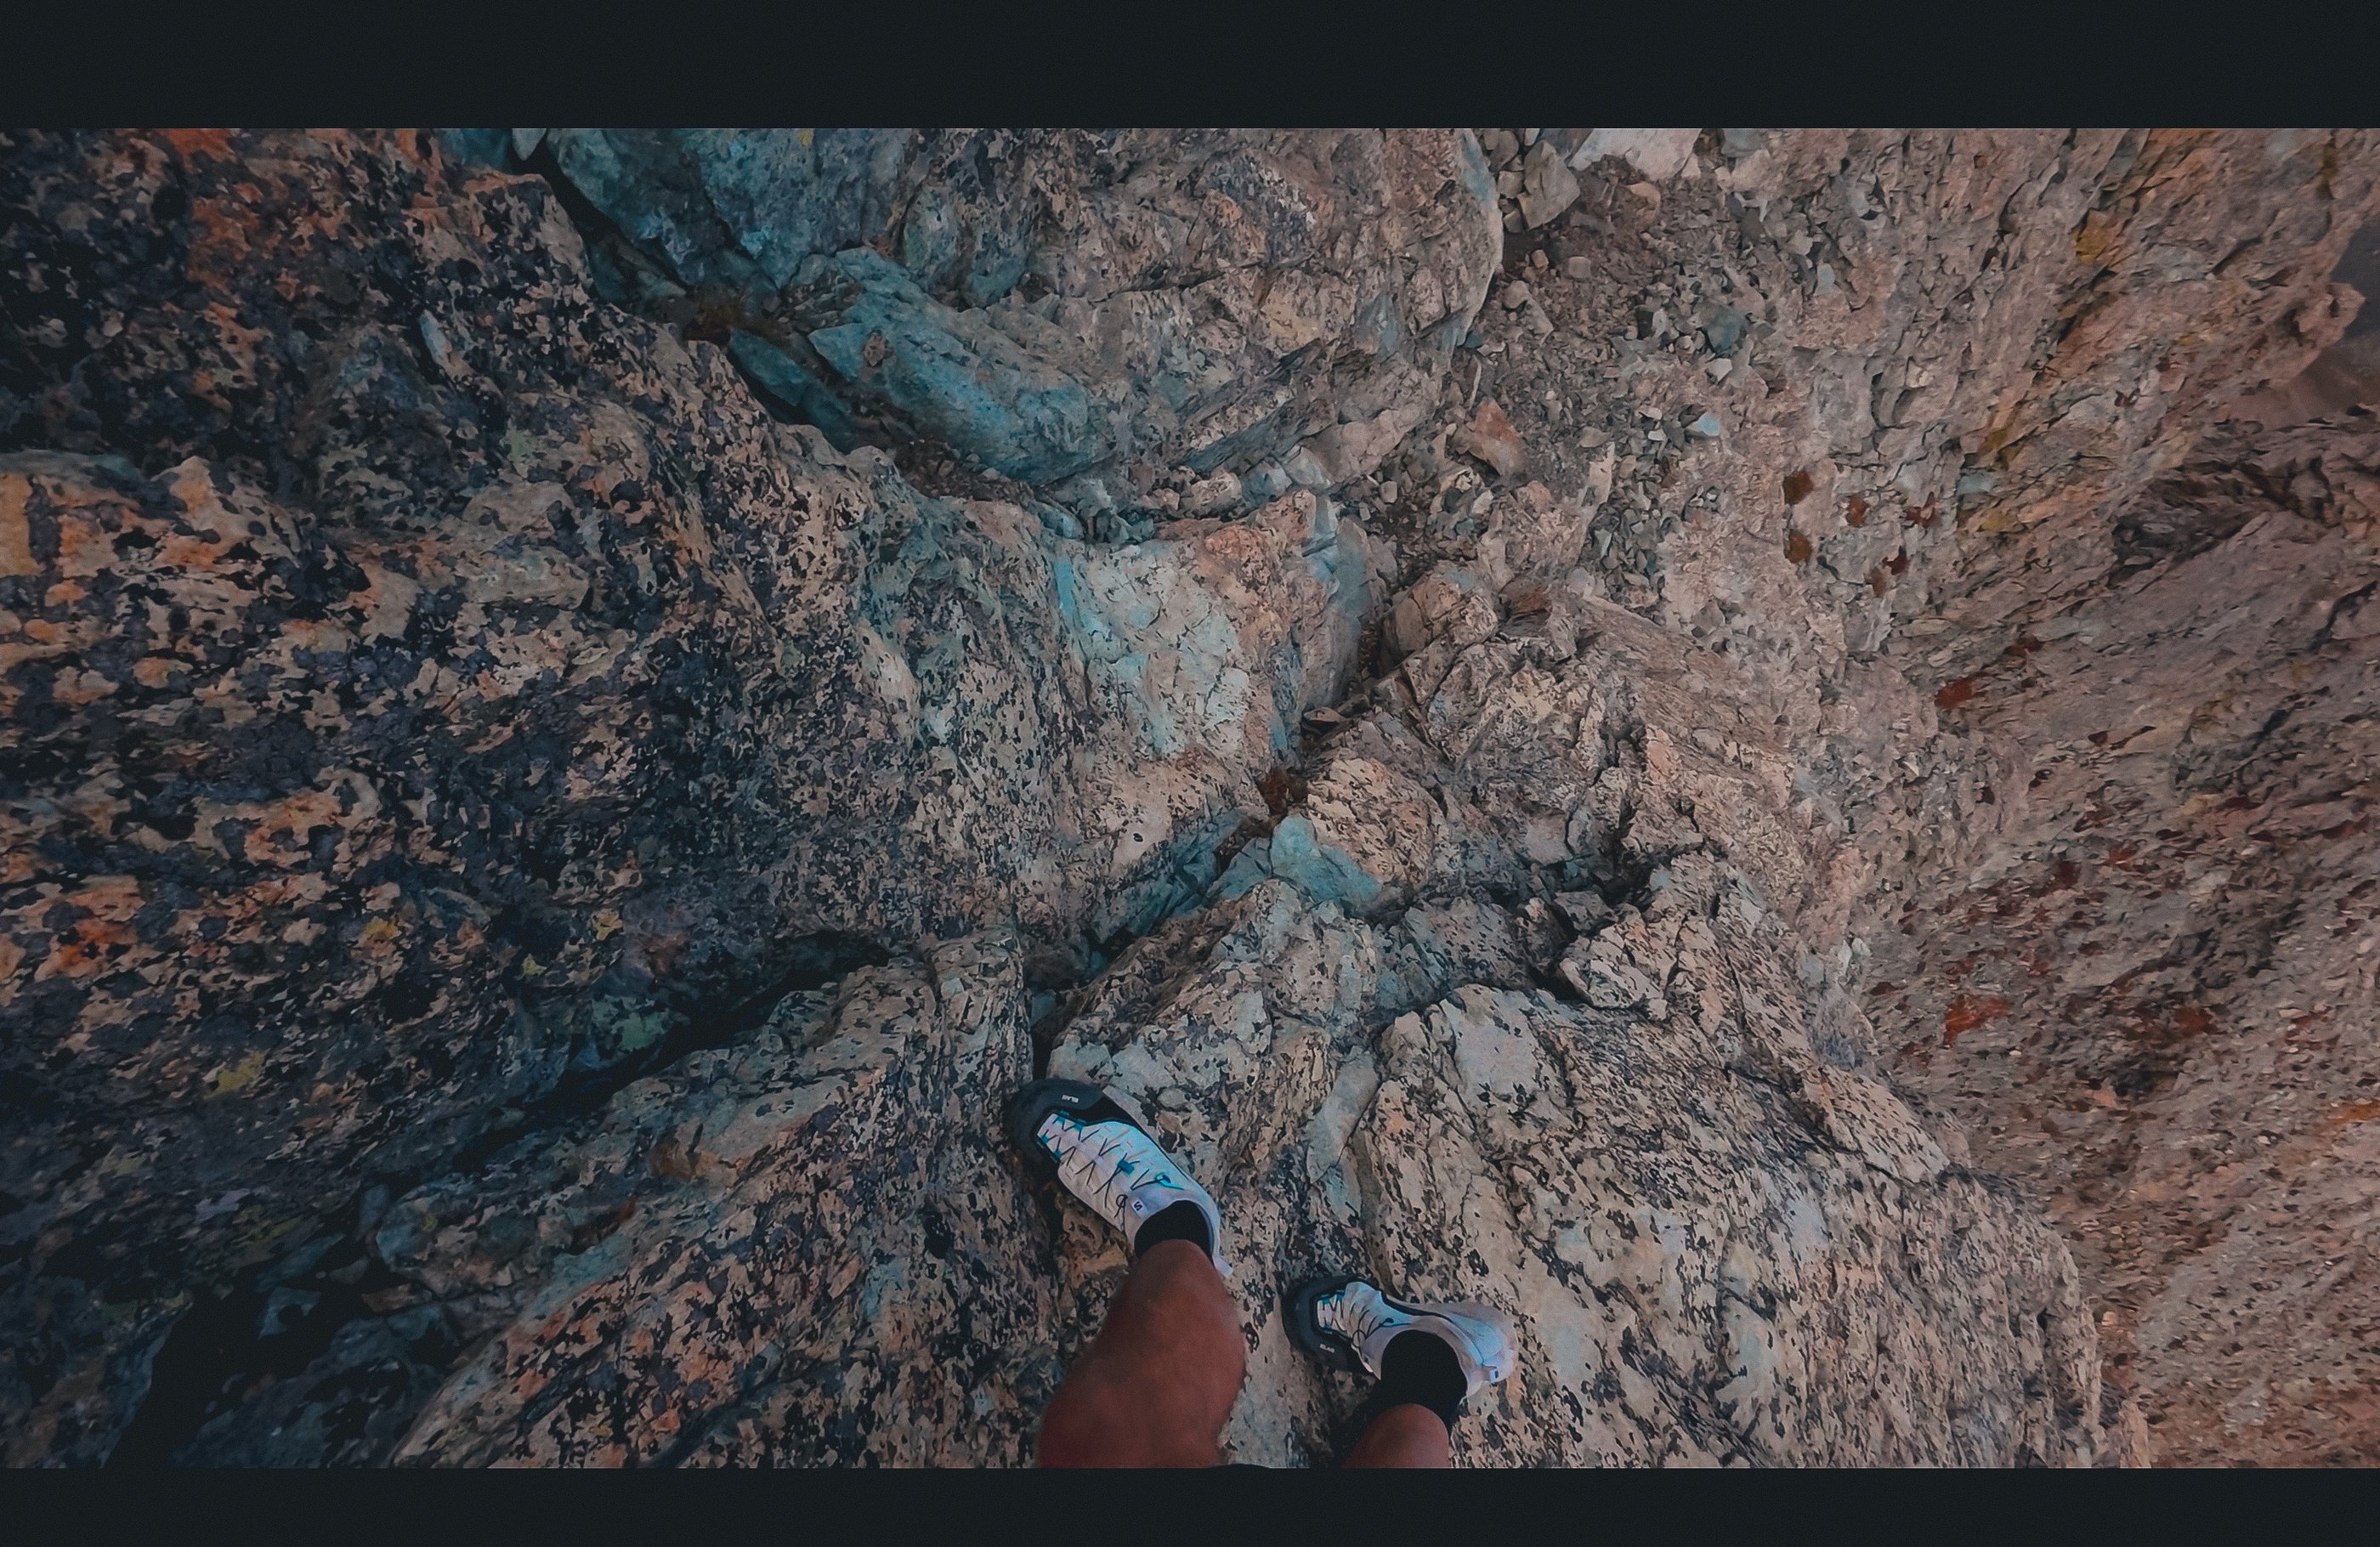
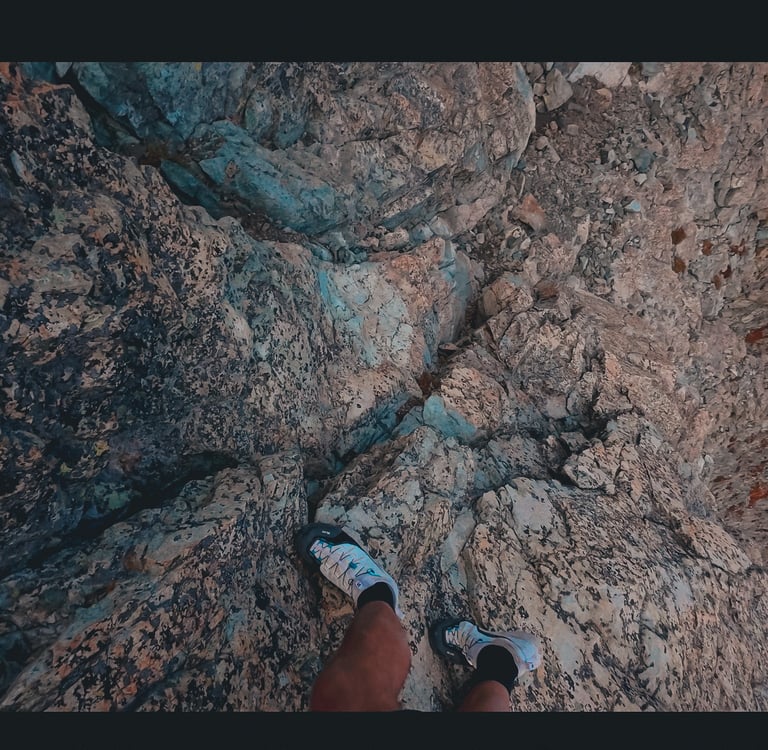
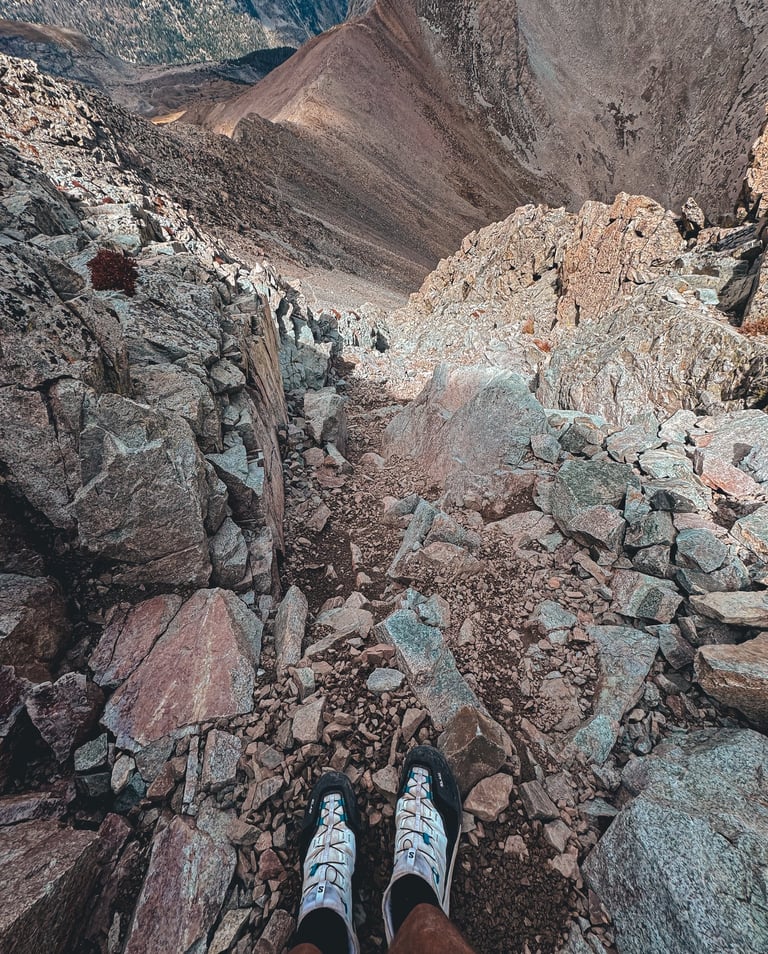
Eventually, you reach the crux wall:
KEEP left – keeps it at exposed Class 3.
Go direct – involves short, committing Class 4 moves.
I accidentally wandered onto the Class 4 line before getting to the Crux Wall. I started up too far left. Instead of panicking, I stayed calm, focused on solid holds, and carefully worked my way back on route. That moment reinforced an important lesson: on technical climbs, your mindset matters as much as your strength.
From there, the ridge continues with fun scrambling until you crest a false summit. A short 0.2-mile ridge walk brings you to the true summit of Mount Lindsey (14,055’).
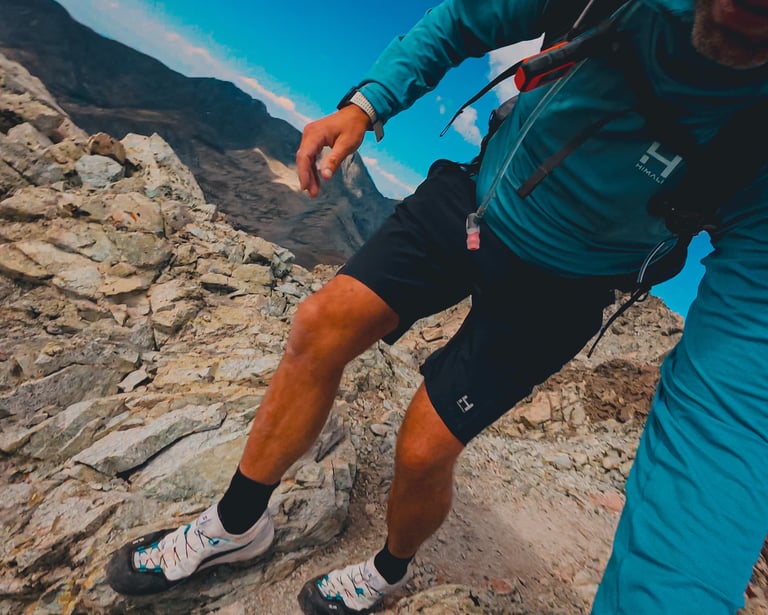

My Gear List
For a Class 3 ridge climb like this, the right gear is essential:
Helmet – critical for both rockfall and while scrambling.
Headlamp – always start prepared for early mornings or late exits.
Fleece Gloves – warmth and protection for scrambling.
Salomon S/Lab Alpinway Approach Shoes – sticky grip for the ridge.
Himali Eclipse Sun Hoodie – lightweight protection from the sun.
Gaia GPS Maps – invaluable for keeping the route on track.
Trail Takeaways
The Ridge Route on Mount Lindsey is a true Class 3 climb—technical, exposed, and unforgettable. The approach alone offers beautiful scenery, the alpine basin above treeline is stunning, and the ridge provides some of the most engaging scrambling on a 14er.
For me, it was the perfect introduction to Class 3 climbing. It reminded me that preparation, calm decision-making, and the right gear can turn an intimidating route into an incredible adventure.
If you’re ready to move beyond standard Class 2 14ers and want a scramble that will challenge and reward you, Mount Lindsey’s Ridge Route deserves a spot on your list.
Trail Stats
Route: Northwest Ridge (Class 3)
Distance: ~8.25 miles round trip
Elevation Gain: ~3,600 ft
Trailhead Elevation: ~10,400 ft (Lily Lake Trailhead)
Summit Elevation: 14,042 ft
Difficulty: True Class 3 route with sustained scrambling and an exposed crux that can reach Class 4 if off-route
Best Season: Late June to early September (snow lingers into summer; road closed in winter)
Parking: Access via rough 4WD road beyond landslide reroute; high clearance required. Limited dispersed camping near the trailhead.
Note: A waiver is required since the route crosses private property. The trail can be faint near the creek crossing—download maps in advance. Exposure, loose rock, and changing weather make this a serious climb; helmet and careful route-finding are essential.