Backpacking Colorado’s Four Pass Loop: What We Learned After 3 Epic Days in the Maroon Bells Wilderness
28 miles. 4 mountain passes. 3 unforgettable days. Backpacking the Four Pass Loop lived up to every bit of the hype—and then some.
HIKING
Devin
8/2/20255 min read
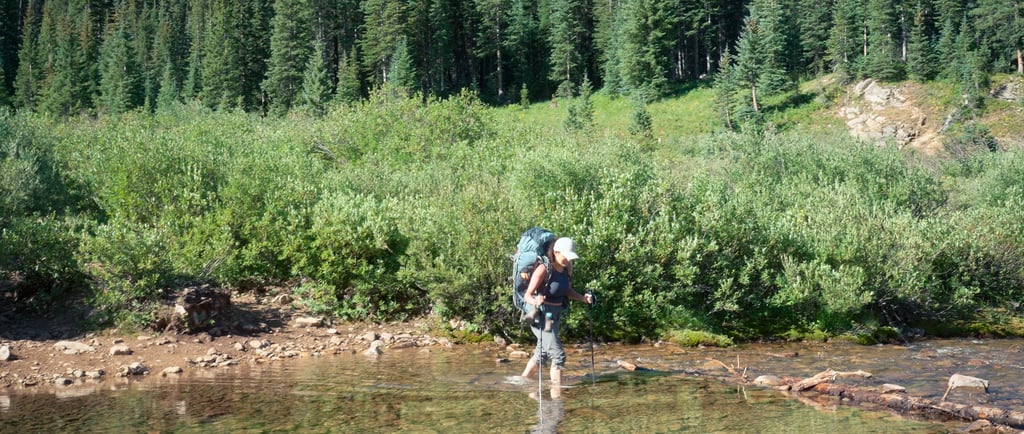

Tucked deep in the Maroon Bells-Snowmass Wilderness near Aspen, Colorado, this loop is one of the most scenic (and demanding) backpacking routes in the state. It crosses four alpine passes above 12,000 feet: West Maroon, Frigid Air, Trail Rider, and Buckskin—each offering unique terrain, exposure, and awe-inspiring views.
We hiked the loop clockwise over three days and two nights, and while it was incredible, we walked away with a few key takeaways that might help you plan your own trip. Check out the Route on GAIA HERE
Why the Four Pass Loop Is So Popular—and Protected
The Maroon Bells have been drawing crowds for decades—and for good reason. Towering peaks, deep valleys, wildflowers, alpine lakes… it checks every box for a dream hike.
In fact, the area holds a special place in conservation history:
Maroon Bells-Snowmass Wilderness was part of the original group of federally designated wilderness areas created under the 1964 Wilderness Act—the law that defined what it means to protect land as “wild.”
As visitation grew in the 1960s, the Forest Service introduced a shuttle system to help limit vehicle traffic and reduce environmental impact. Today, the area is still heavily protected—and that means strict rules apply.
Wilderness Rules You Need to Know
We love that more people are getting outside—but we also ran into someone flying a drone on the trail, and it’s a good reminder that not everyone knows the rules.
Here’s a quick list of what’s not allowed in designated wilderness areas like Maroon Bells:
🚫 No drones (or any motorized/mechanized equipment)
🚫 No bicycles
🚫 No amplified music
✅ Permits are required for overnight use
✅ Dogs must be leashed
✅ Leave No Trace ethics are expected
These rules aren’t meant to ruin your fun—they’re meant to preserve the wild character of these places for future generations.
Trailhead Access & Parking: Plan Ahead
Getting to the Four Pass Loop takes more planning than just showing up.
Trailhead parking is extremely limited, and requires a reservation via recreation.gov.
Between 7:00 AM and 5:00 PM, trailhead access is restricted to shuttle passengers or permitted vehicles. More info HERE
If you don’t finish by 5:00 PM, you’ll either need to hitchhike or walk 8.2 miles back to Aspen—so plan accordingly.
We parked at the Aspen Highlands shuttle lot, which cost $130 for 3 days. Pricey, but it guaranteed us shuttle access. There are cheaper options in Aspen if you’re willing to work out extra logistics.
Our Route: 3 Days, 2 Nights
We chose a three-day itinerary—not because it was easy, but because it fit our permits and schedule. Here’s how it played out:
Day 1: West Maroon Pass & Frigid Air Pass
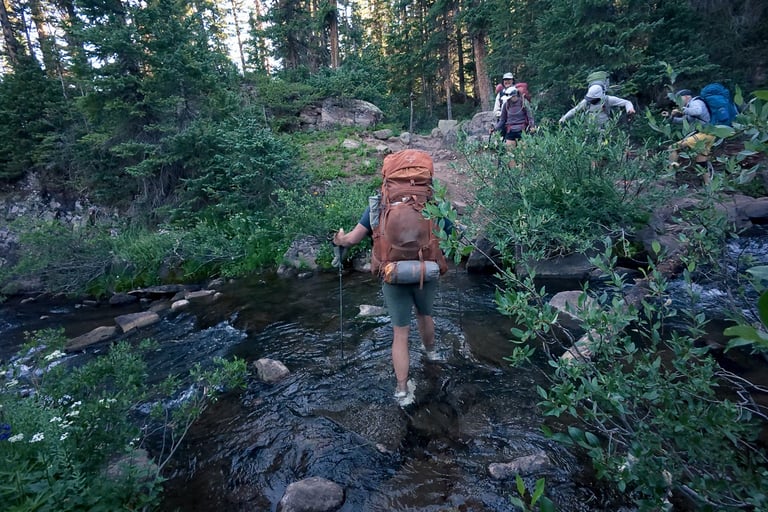
We started strong, tackling West Maroon and then Frigid Air Pass back-to-back. Frigid Air is steep and exposed, and the wind didn’t let up—but the ridgeline views were unforgettable.
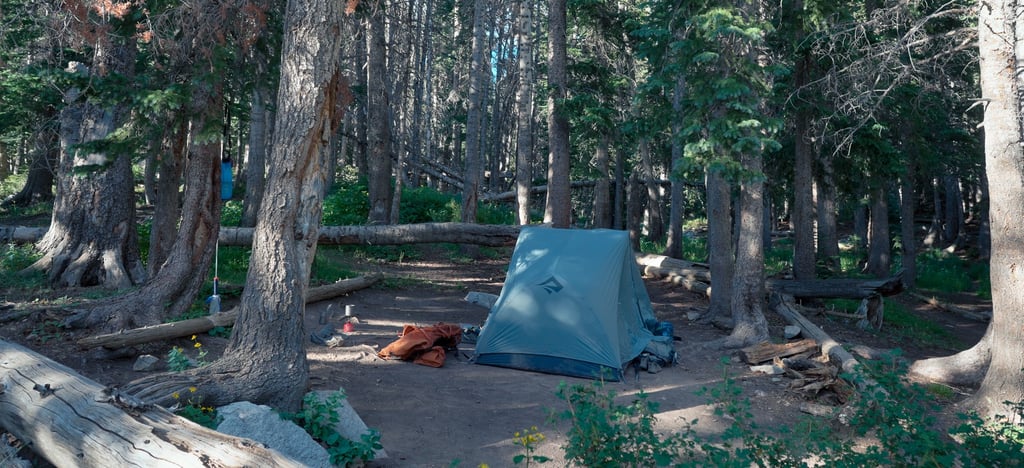
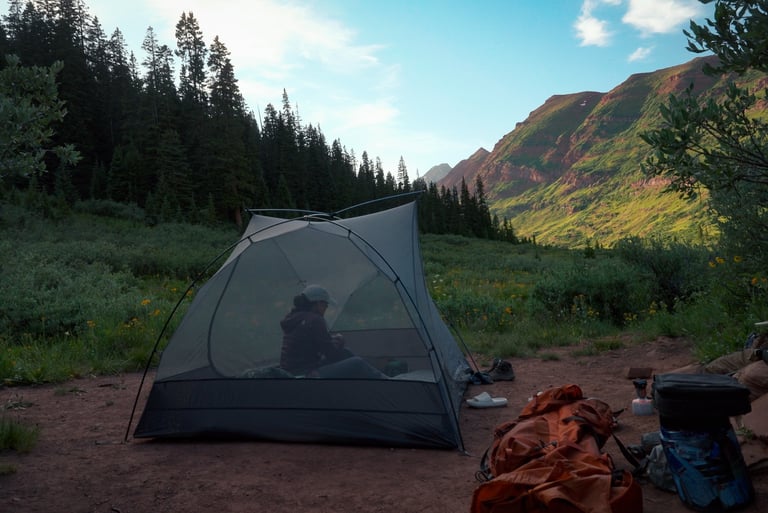
We descended into a quiet alpine basin and found a beautiful campsite for the night—secluded, flat, and surrounded by wildflowers.
Day 2: Trail Rider Pass to Snowmass Lake
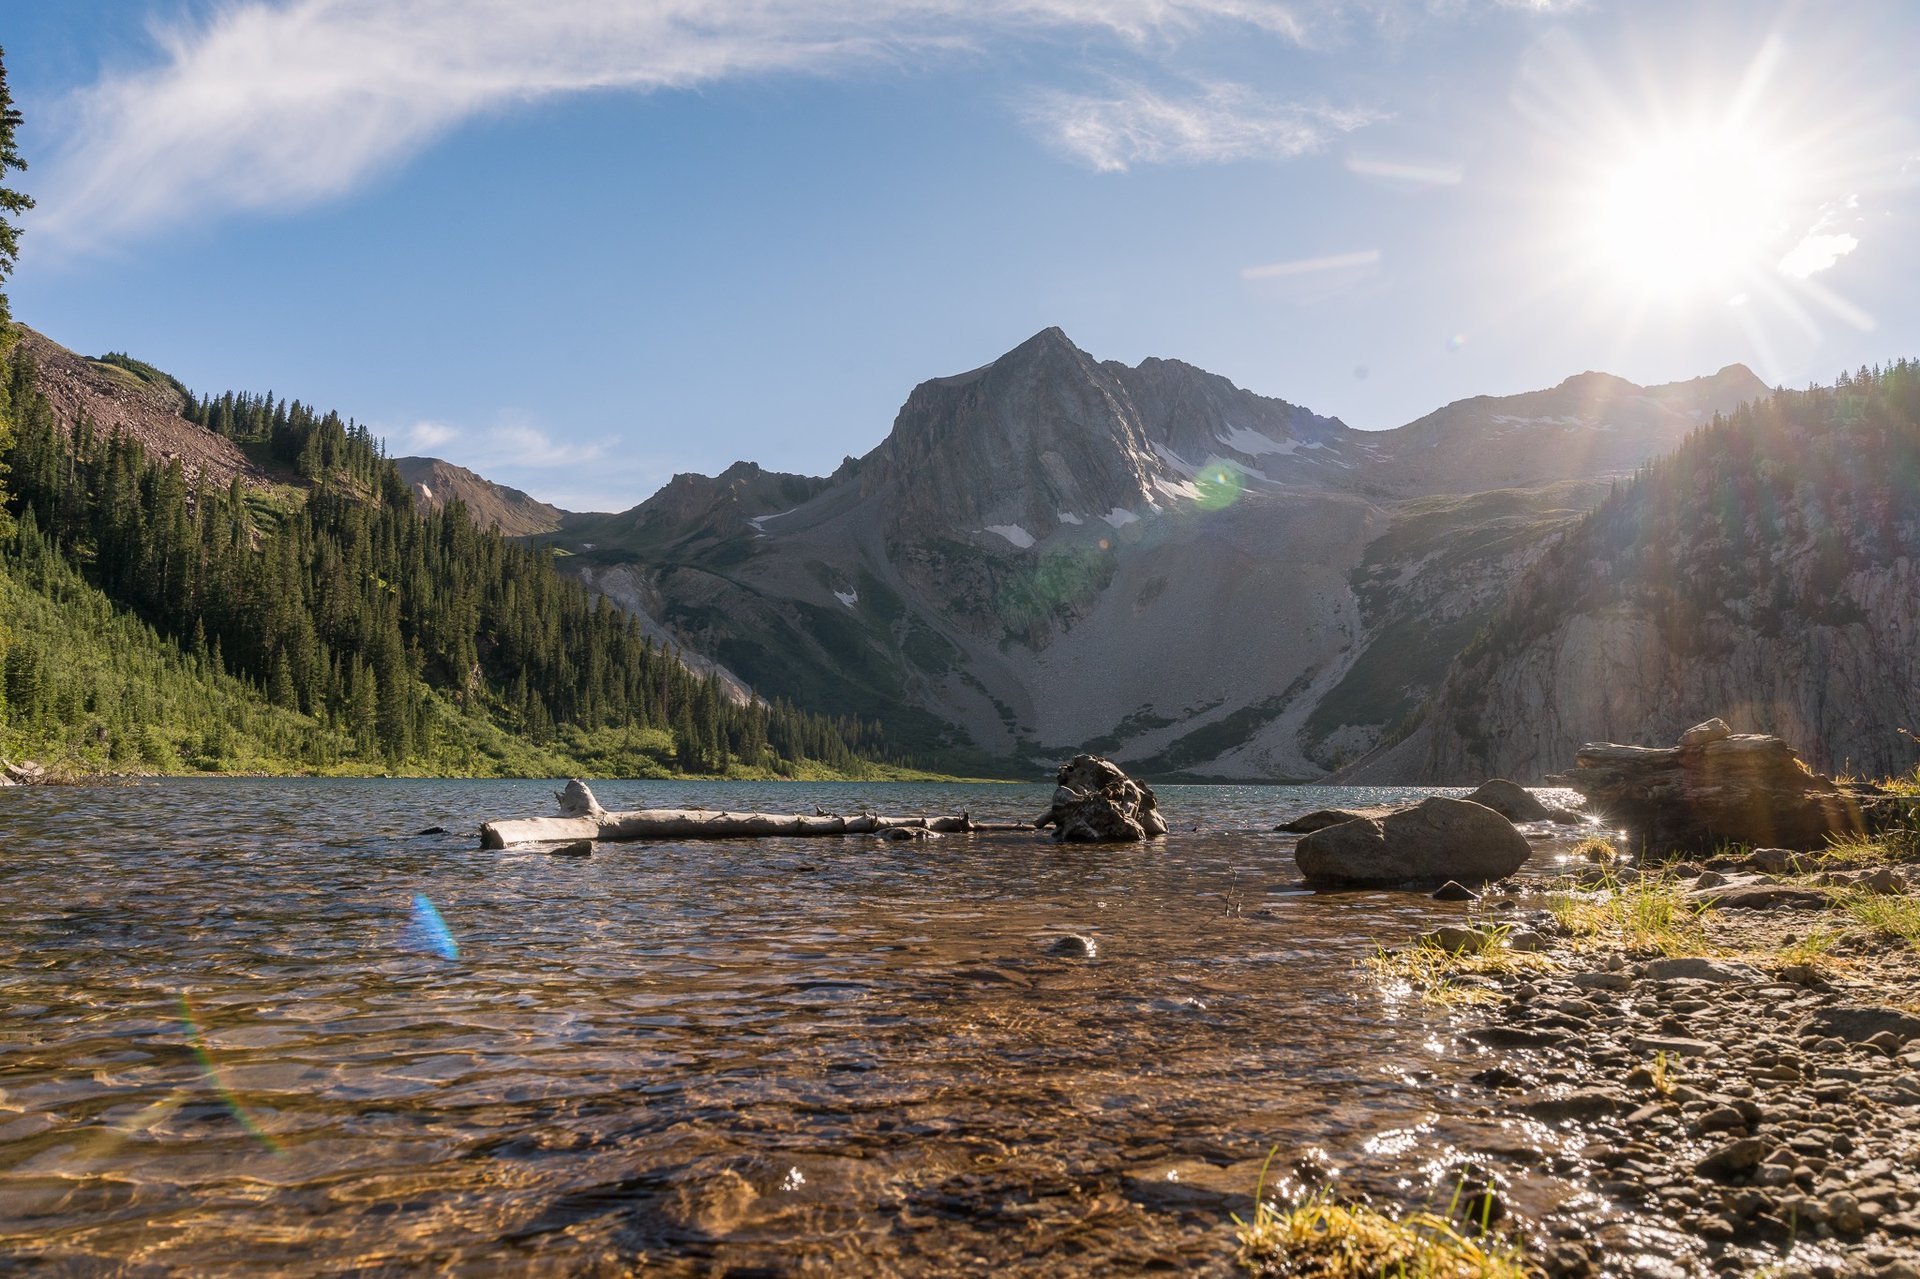
With only one pass to climb, this day looked easier on paper. Trail Rider Pass proved otherwise. The climb was long, steep, and exhausting—but the top delivers a jaw-dropping view of Snowmass Lake far below.
We camped near the lake, which is one of the most popular (and crowded) areas on the loop. Expect neighbors. Still 100% worth it.
Day 3: Buckskin Pass and the Final Push
Our final climb was over Buckskin Pass—the easiest of the four, at least by this point. We were acclimated and lighter on food, so it felt more manageable.
From the top, we could see every basin and ridgeline we had crossed over the last three days. A perfect way to close the loop.
The Weather: We Got Lucky—You Might Not
We had three straight days of amazing weather. Blue skies. Light breeze. No storms.
But that’s rare.
Much of this trail is fully exposed above treeline, and afternoon thunderstorms are extremely common in the Colorado high country. Getting caught on a pass in a lightning storm is incredibly dangerous.
If you're planning this trip, start early each morning, keep your eyes on the clouds, and be ready to adjust your pace to avoid exposure during storms.
What We Packed (And What Worked)
We were happy with every major gear decision:
Sea to Summit Telos UL2 tent
Layered clothing system (base layers, sun hoodie, insulation, rain shell)
High-calorie backpacking food + electrolytes
Bear canister for food storage (required!)
Water filtration and backup tablets
Our gear was light, functional, and dialed in. We didn’t overpack, and we didn’t feel like we were missing anything important.
To See a more detailed Backpack packing lists Check out my Blog HERE
What We’d Do Differently: Add a Day
If we were to hike this again—and we absolutely plan to—we’d take four days instead of three.
Each day felt like a race to camp.
We didn’t have time to explore or relax at spots like Snowmass Lake.
Adding an extra night would give more flexibility for weather, photography, and just soaking it in.
More time = a better experience.
Final Thoughts
The Four Pass Loop is a true Colorado classic—and a rite of passage for serious backpackers.
It’s beautiful, remote, and protected for a reason.
It demands planning, permits, and a healthy respect for wilderness rules and weather patterns.
But if you come prepared, you’ll walk away with one of the most rewarding experiences of your life.
➤ Have questions about gear, permits, or route timing? Drop a comment—or check out our YouTube video on the Four Pass Loop for visuals, trail tips, and how we made it happen.

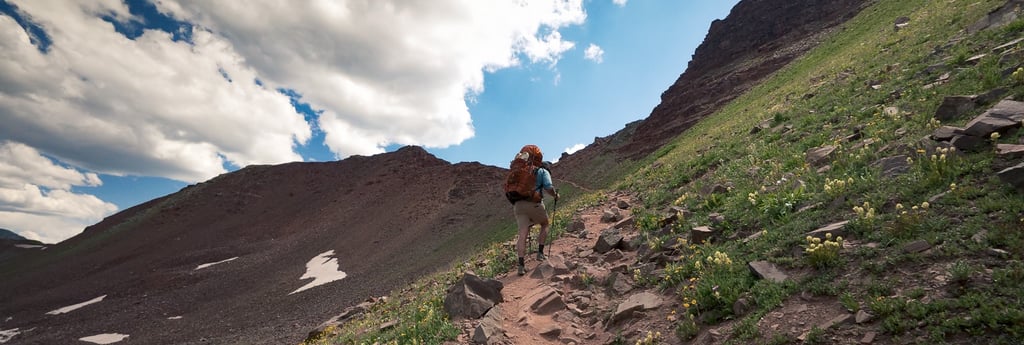

Hiking up to cross West Maroon Pass on Day 1
Dispersed Campsite on Day 2
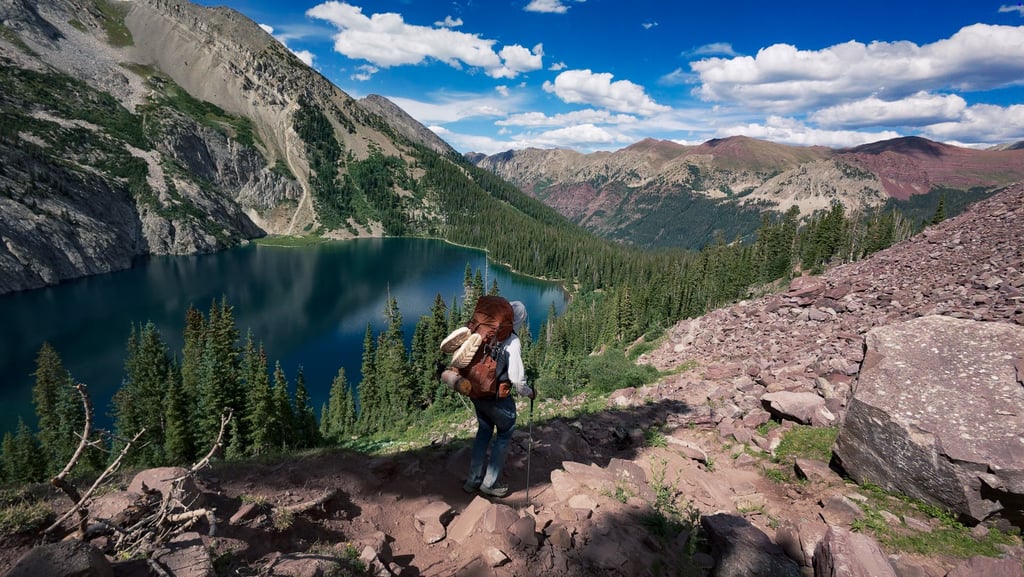

Snowmass Lake from Trail Rider Pass
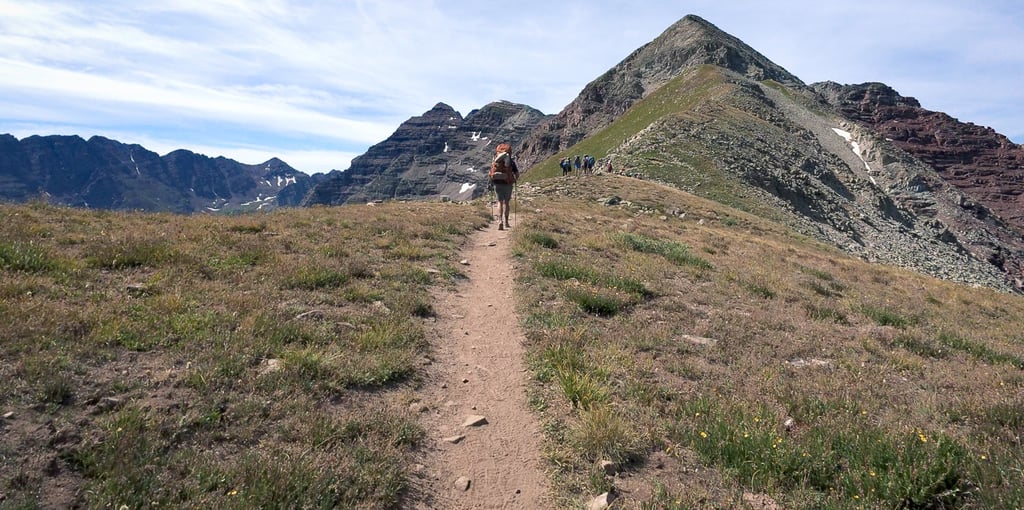

Buckskin Pass on Day 3
